
Useful Ender 3 Upgrades and Mods
An Ender 3 is a great way to start exploring 3D printing. It’s affordable and can print amazing quality with proper assembly and understanding. The Ender 3 is also open-source, from its firmware to all its easy-to-find components. Because of that, there are many great Ender 3 upgrades and mods, where the right upgrades can improve print quality and reduce frustration.
The best part about these Ender 3 upgrades is that most are 3D printed, with loads of options out there to fit your preference and setup. After having my printer for about 3 months, here is my list of Ender 3 upgrades you should consider.
Ender 3 Upgrades to improve prints
My whole objective for these upgrades is to improve print quality and usability. Here are some 3D printable Ender 3 upgrades that I have found to help in print consistency, and some upgrades worth purchasing.
X and Y axis belt tensioners
The Ender 3 uses belts on the X-axis and Y-axis which can lose its tension after a period of time. When this happens, movement of the hotend and bed will not be consistent, causing skipping or misaligned layers in your print.
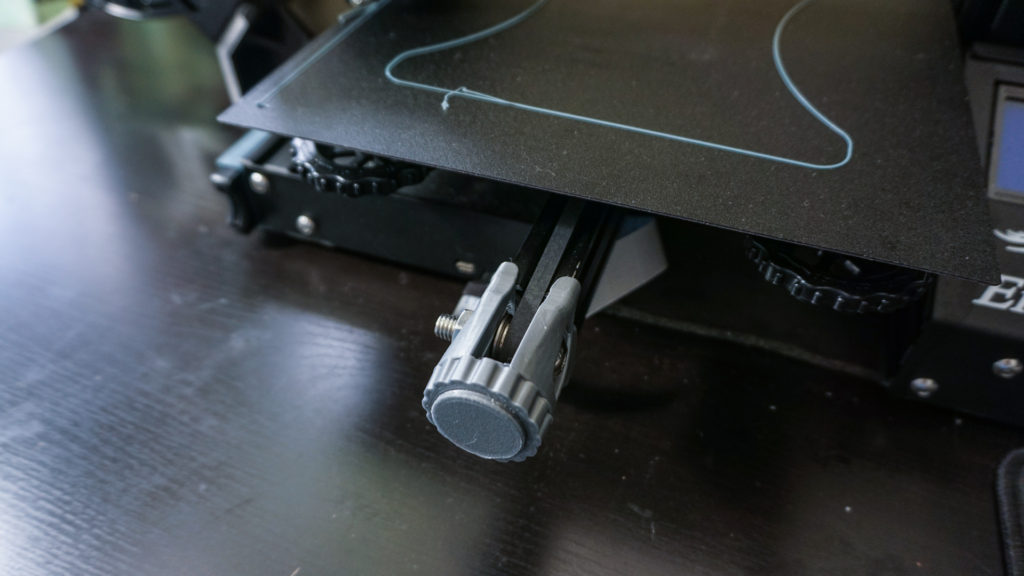
These tensioners will help keep tension with a simple twist of the knob. The only additional part required for this printed Ender 3 upgrade is a longer M8 bolt as the one used on the X axis is too short. While this upgrade helps keep tension on the belts, ensure to not overtighten as it will affect movement.
Filament spool upgrades
The Ender 3’s small profile doesn’t take much space as the default placement of the filament spool is on top. However, this feeds the filament into the extruder at an acute angle and may cause the extruder to work harder and feed inaccurately.
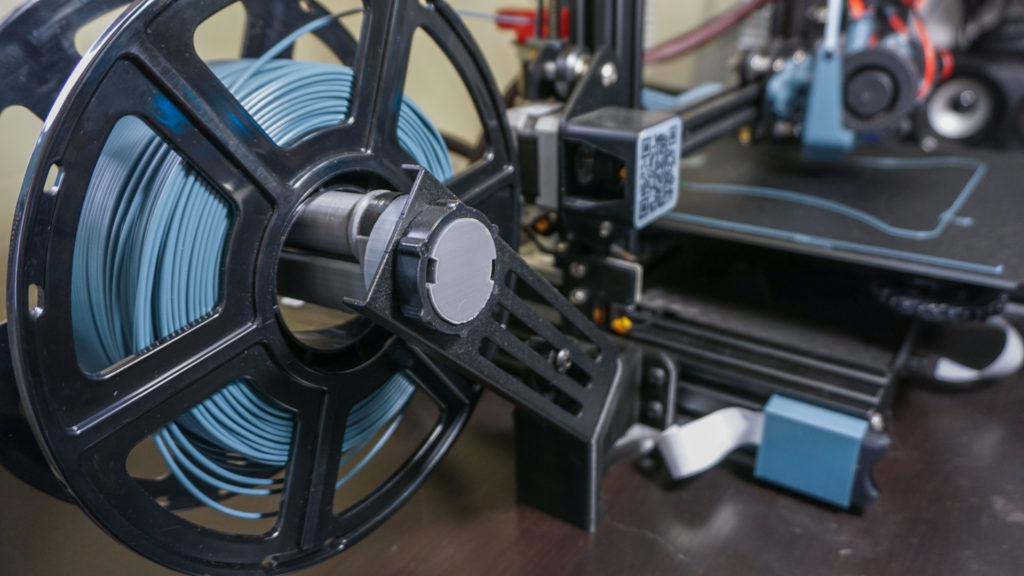
A 3D printed side spool mount helps fix this while using the original bracket. Another thing to consider upgrading is a spool roller that helps the spool roll smoothly, along with 3D printed bearings for the roller.
You may have also noticed that filament fed into the Ender 3 is very close to the Z-axis rod. This very simple but effective filament guide helps guard the filament against touching the oily rod.
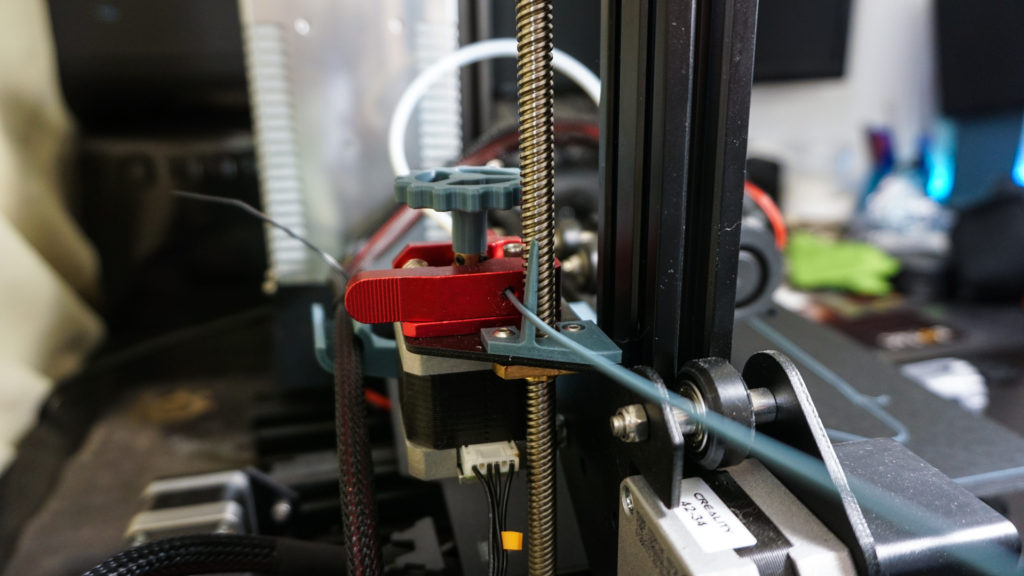
Crucial hotend mod to improve prints
If you’ve been to the 3D printing subreddit or Facebook groups, you would know that hotend clogs is an inevitable nightmare. This happens when the bowden tube isn’t sitting flat on the nozzle, causing filament to ooze out the gaps. The stock bowdentube also has a tendency to melt near the nozzle which can cause clogs too.

Among all the upgrades, this Ender 3 hotend mod is one you should do now. It’s more than a mod, it’s a fix that will take you thru many prints without frustration.
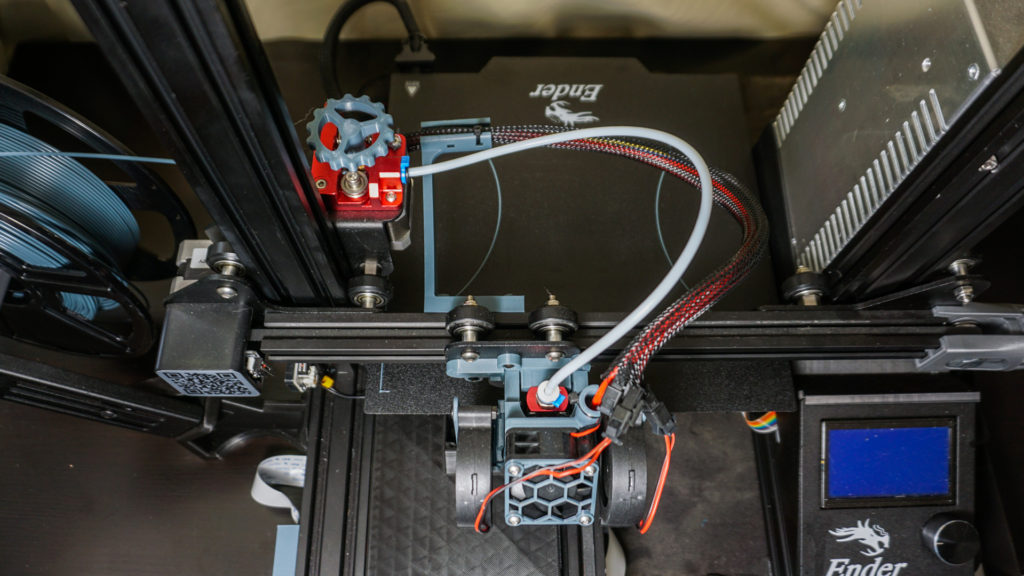
Upgrading the cooling fans on the Ender 3
There are a total of 4 fans on the Ender 3 that each cools the heatbreak, print (part cooling fan), motherboard and power supply. The stock fans have decent performance but are very loud during operation. This noise comes mostly from the hotend, which is the first two fans on the Ender 3 you should upgrade.
I swapped the weak 4010 part cooling fan with two 5020 blower fans, and also upgraded the heatbreak cooling to a quieter 4020 fan. Out of the many options for this Ender 3 upgrade, I chose the Hero Me Gen 5 as it has many configurations. This fan upgrade not only helps with lowering noise but two 5020 part cooling blower fans can help in printing better quality overhangs and tough angles.
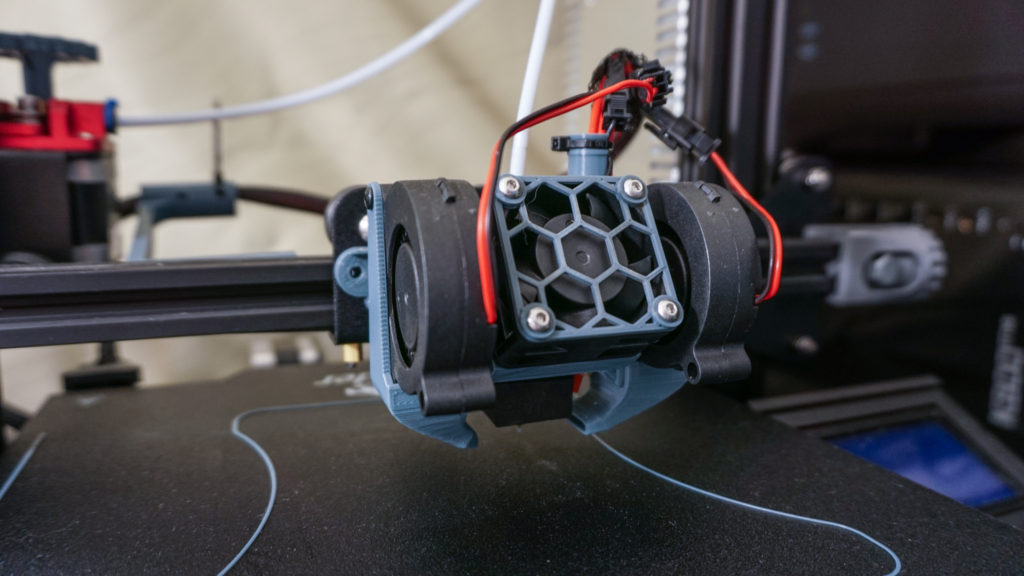
The motherboard and power supply fan doens’t produce as much noise. I did however upgrade the motherboard fan to a 4020 for better performance and quieter operation while relocating it (my own design which I may upload on Thingiverse) to avoid trash from falling through.
Do note that the upgrade of fans means some rewiring, whereby I chose to put connectors so I can easily swap out fans if needed.
Ender 3 Upgrades for better overall experience
Not all mods are useful, but Ender 3 upgrades are ‘quality of life’ improvements. The following upgrades are optional, but has made my 3D printing experience more enjoyable.
Silent Mainboard (best Ender 3 upgrade)
The original Ender 3 was launched in March 2018 and has since received a few iterations such as the V2, Pro, and Max. The original Ender 3 also received some upgrades over the years, one of which is the newer 4.2.2 32-bit mainboard that has a built-in bootloader and more storage for firmware commands. Newer is always better, but little did I know that silent mainboards existed.
Aside from the fans, another source of noise from 3D printing is the TMC drivers. Each TMC driver on the mainboard is in charge of controlling one stepper motor of a printer. To my surprise, the mechanical whining during a print was not from the motors but from these TMC drivers.
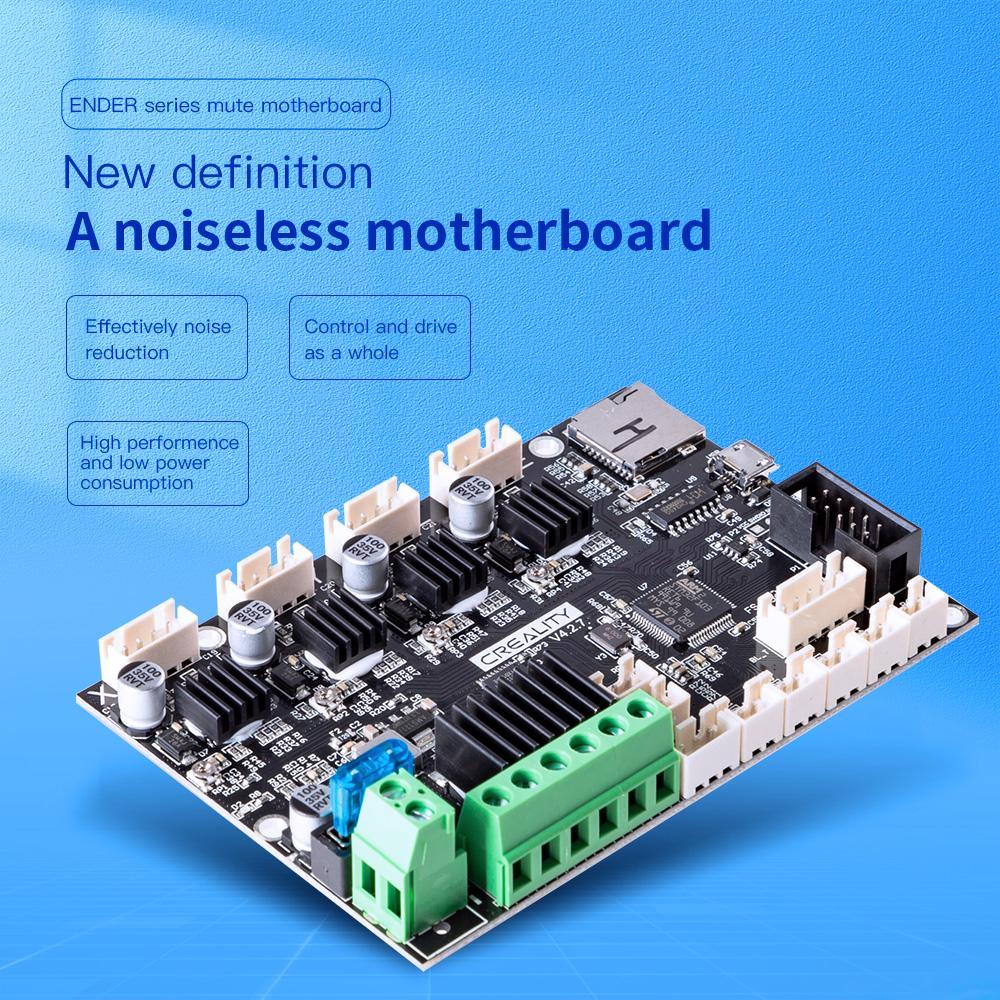
After discovering silent mainboards, I went to look for one and found that Creality had its own silent 4.2.7 mainboard for their Ender series. The only difference between the 4.2.2 and 4.2.7 mainboards are the silent TMC drivers. If you’re thinking of swapping it out, it’s a matter of just replacing the same connections from the original mainboard to the silent one. Here’s a good comparison video of a normal vs silent mainboard on an Ender 3.
For me, this has been the best Ender 3 upgrade that has made long prints more bearable.
Upgrades worth purchasing
Unfortunately, not all Ender 3 upgrades can be 3D printed, but there are some good upgrades that are worth purchasing.
Swapping out the stock bed springs for stronger ones help with maintaining a levelled bed for a long period of time. I had to relevel my bed after every print on the stock bed springs, while certain corners required more tweaking. The stronger bed springs have lessened this struggle, giving me more confidence to print back to back without thinking of levelling the bed.
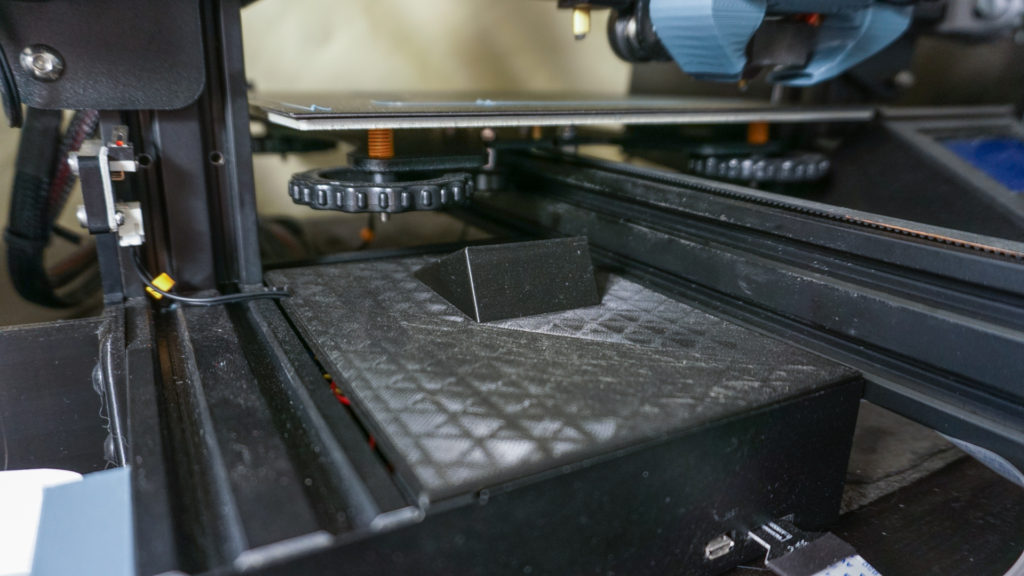
Trying to get a completed print can ruin your levelled bed. It’s best to remove the print surface so the bed isn’t disturbed. However, removing the four clips that hold the print surface in place is troublesome. I found a magnetic bed very pain free as I could just lift the surface off to remove a completed print.
Another upgrade for me was using a full-sized SD card instead of a micro SD Card which was also very close to the Y gantry. Then printing this simple SD card holder and mounting it to the left for easier access.
Optional printable Ender 3 upgrades
These upgrades and additional mods have helped me keep everything in place and made my 3D printing workflow cleaner. This tool holder was one of the first few things I printed for my Ender 3. It keeps all the tools that came with the Ender 3 in a neat place, so you always know where to find them.
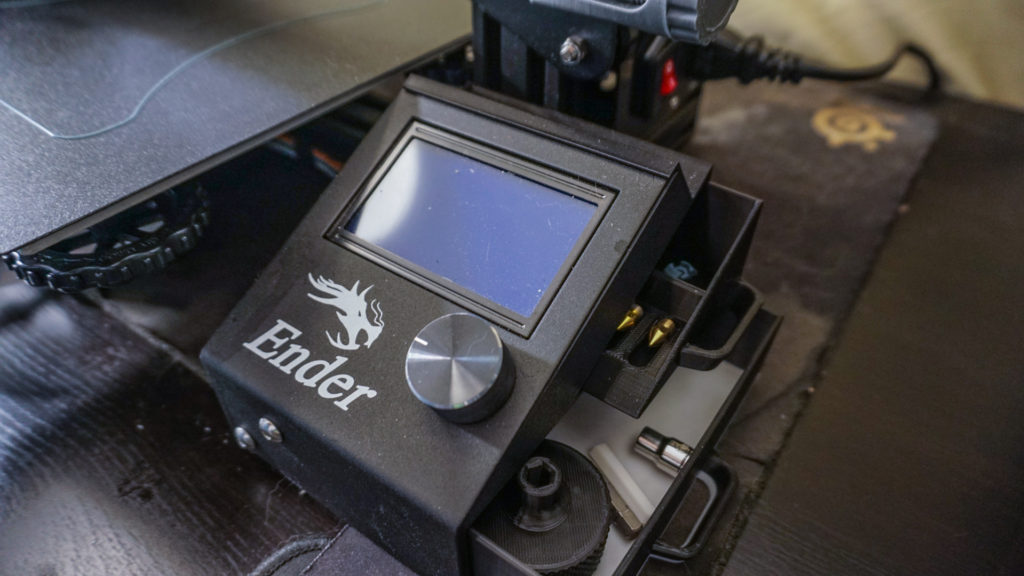
I wanted additional storage for more commonly used tools for the Ender 3 and chose this LCD drawer which also serves to cover the exposed circuit board. This drawer houses extra nozzles and tools like this 3D printed nozzle wrench. Printing knobs for the z-axis rod and extruder have helped in more than I imagined.
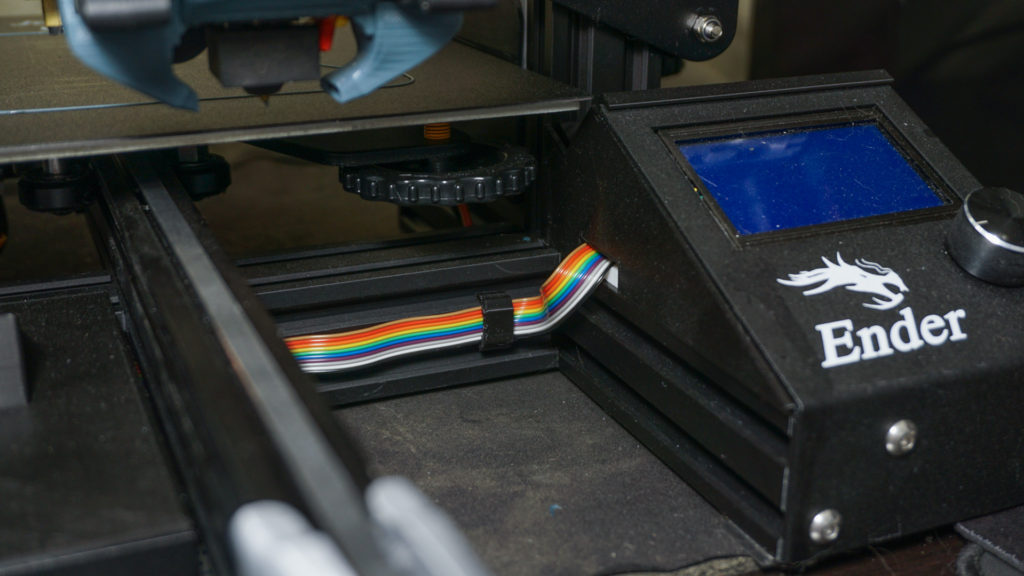
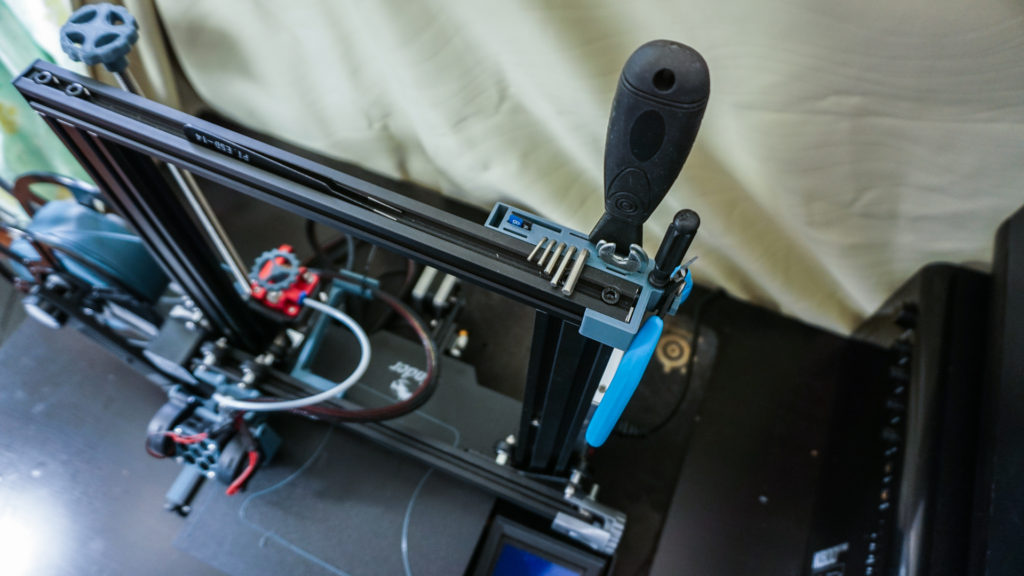
Lastly but certainly not least important is cable management. I didn’t want the weight of a cable chain interfering and instead picked this cable guide for the hotend cables, installed on the X-axis gantry with 3D printed T-nuts. This cable protector ensures wires coming out from the mainboard are not damaged, while cable clips keep the LCD and power supply wires neatly tucked.
Printing some of these less important upgrades is a great way of testing your settings or bed levelling. These are all of my Ender 3 upgrades thus far, some of which can be spotted on my first Ender 3 post. Thanks for reading!